How to Fix a Leaking Pipe – Stop the Leak Fast Before It Gets Worse
You just noticed water dripping… maybe under the sink or along the wall.
At first it looks small—but deep down you know this can quickly turn into a bigger problem.
You’re right to act fast.
The Problem You’re Facing
A leaking pipe can start small but cause:
- Water damage to walls or floors
- Higher water bills
- Bad smell or mould over time
The frustrating part?
Most people don’t know if it’s something simple they can fix—or something serious.
The Real Solution (What You Should Actually Do)
Here’s the truth: most pipe leaks are caused by loose joints, worn seals, or small cracks.
What you should do depends on the situation:
- If water is dripping from a joint → tighten the connection or reseal it
- If it’s a small crack → use pipe repair tape or epoxy to seal it temporarily
- If the pipe is damaged or old → replace that section of the pipe
In simple terms:
You’re either tightening, sealing, or replacing.
If you catch it early, this is a quick fix. If you delay, it becomes a bigger repair.
Materials Needed for Fixing a Leaking Pipe
Option A — Full Repair Kit (Beginner Friendly)
Everything you need in one go:
- Adjustable spanner/wrench
- Pipe repair tape (waterproof)
- Epoxy putty
- Replacement pipe fittings/connectors
- PTFE (thread seal) tape
- Cleaning cloth
Tools & Materials for Pipe Repair


Option B — Materials Only (For Experienced Users)
If you already have tools:
- PTFE tape
- Pipe repair tape or epoxy
- Replacement fittings or pipe section
What You Need to Know Before You Start
Quick but important:
- Always turn off the water supply first
- Dry the pipe before applying any repair material
- Don’t ignore even small leaks—they spread
- Temporary fixes won’t last forever
Pro tip: A clean, dry surface makes your repair hold properly.
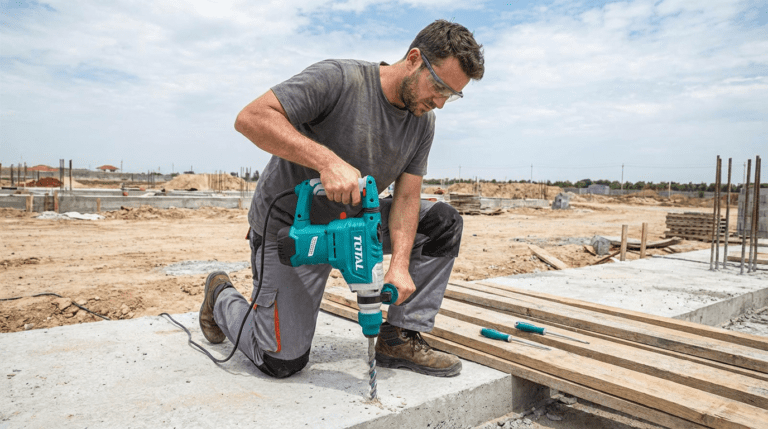
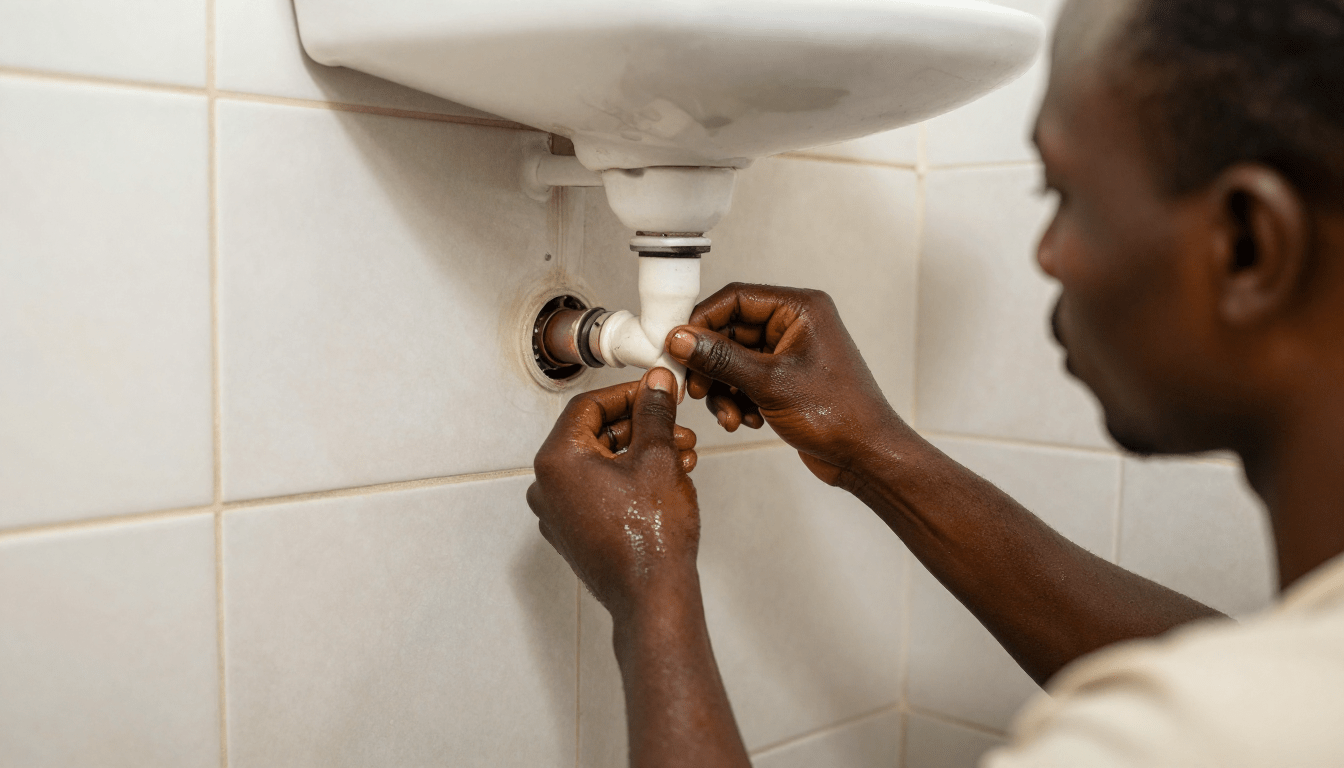
Step-by-Step: How to Fix a Leaking Pipe
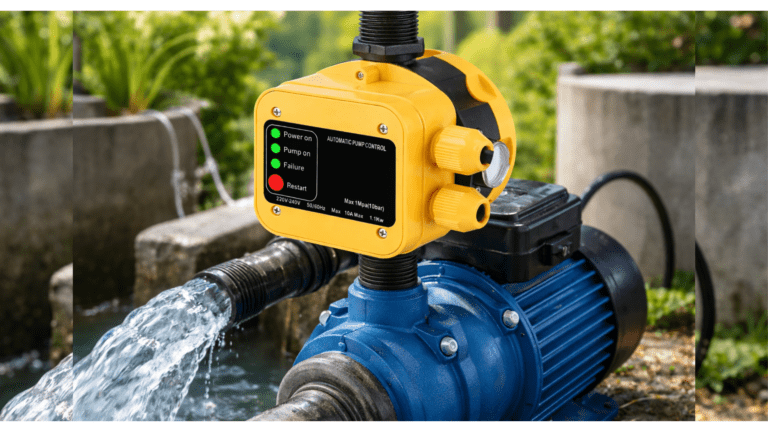
Step 1: Turn Off Water Supply
Stop water flow before touching anything.
Step 2: Locate the Leak
Check if it’s from a joint, crack, or pipe body.
Step 3: Dry the Area
Use a cloth to remove water completely.
Step 4: Fix Based on the Problem
- Loose joint → tighten and apply PTFE tape
- Small crack → apply epoxy or repair tape
- Damaged pipe → replace the section
Step 5: Turn Water Back On
Check carefully for any leaks.
Step 6: Monitor for a Few Minutes
Make sure everything stays dry.
Pipe Repair Process


Smart Selling (Make It Easy for Yourself)
Instead of guessing what to buy:
Complete Pipe Repair Kit
- All tools and materials included
- No back-and-forth to the store
- Beginner-friendly
- Faster fix
Materials Pack Only
- Perfect if you already have tools
- Quick restock
- Saves cost
This way, you fix the problem once—not repeatedly.
Don’t Want the Stress? (Service Option)
You can also:
- Call a professional plumber
- Get it fixed quickly and safely
- Avoid mistakes that cause bigger damage
Best option if:
- Leak is inside the wall
- Pipe is badly damaged
- You’re not confident handling it
What This Leak Might Be Telling You
A leaking pipe is sometimes a warning sign:
- Other joints may be getting weak
- Pipe system may be old
- Water pressure might be too high
- Hidden leaks could exist
Fixing one leak is good—checking others is smarter.
Quick Checks You Should Do Regularly
To avoid future leaks:
- Check under sinks every few weeks
- Watch for damp walls or floors
- Fix small drips immediately
- Replace old fittings early
These small habits save you bigger repair costs later.
What You Can Do Now
Choose what works for you:
- Get a Complete Pipe Repair Kit (easy, no stress)
- Buy Materials Only (if you already have tools)
- Request a Professional Plumber Service
Fast action now prevents bigger damage later.
Final Word
A leaking pipe might look small, but ignoring it is what makes it expensive.
With the right tools, materials, or help, you can fix it quickly and keep your home safe and dry.
If you want, I can also create a product bundle list (with pricing strategy) you can upload directly to your store for this article.