How to Paint a Room (Simple Guide That Gives You a Clean, Professional Finish)
You look at your room and feel it again—this wall needs a fresh look.
Maybe it’s dirty, faded, or just boring now. You want a new vibe, but you don’t know where to start. Or maybe you just rented a room, it’s not really your color or vibe.
Painting a room looks simple… until you actually try it.
The Problem Most People Face
When people try painting a room, they usually struggle with:
- Patchy or uneven paint
- Paint peeling after a few weeks
- Visible brush marks
- Buying the wrong materials
- Running out of paint halfway
It ends up looking worse than before—and that’s frustrating.
The Real Solution
The truth is: a well-painted room is not about effort, it’s about preparation and the right materials.
To get it right:
- Prepare the wall properly (clean, smooth, and dry)
- Use the correct primer before painting
- Apply paint in even layers, not one thick coat
- Use the right tools for a smooth finish
If you follow this process, your room will look clean, bright, and professionally done—even if you’re not an expert.
Materials Needed for Painting a Room
Option A — Full Painting Kit (Beginner Friendly)
Perfect if you want everything in one go:
- Roller brush set (tray + handle + refill rollers)
- Paint brushes
- Wall filler/putty (for cracks)
- Sandpaper
- Primer (base coat)
- Interior paint (your colour choice)
- Masking tape
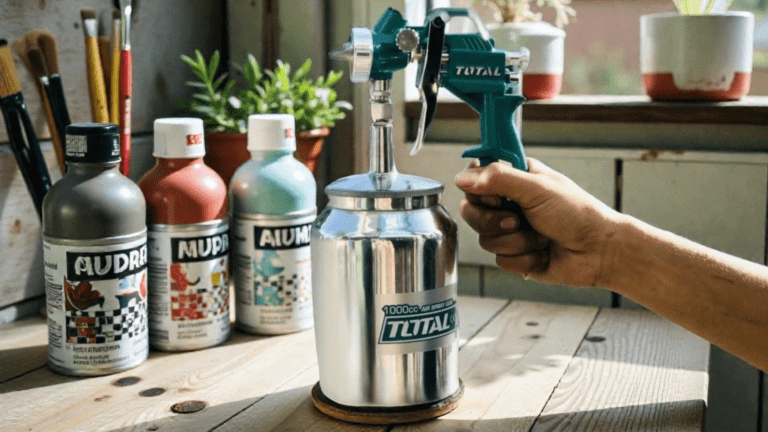
Painting Setup (Tools & Materials)
Option B — Materials Only (For Experienced Users)
If you already have tools:
- Primer
- Interior wall paint
- Wall filler
- Sandpaper
- Masking tape
What You Need to Know Before You Start
Small mistakes here ruin the whole finish:
- Never paint a dirty or damp wall
- Don’t skip primer—it helps paint last longer
- Avoid using too much paint at once (causes dripping)
- Always paint in natural light if possible
- Two thin coats are better than one thick coat
Pro tip: preparation is 60% of the final result.
Step-by-Step: How to Paint a Room
Step 1: Prepare the Room
Move furniture, cover floors, and tape edges.
Step 2: Fix the Walls
Fill cracks, sand rough areas, and clean dust.
Step 3: Apply Primer
This helps the paint stick properly and last longer.
Step 4: Start Painting
Use a roller for large areas and a brush for corners.
Step 5: Apply Second Coat
Wait for the first coat to dry, then apply evenly again.
Step 6: Let It Dry Completely
Avoid touching or moving things too early.
📸 Painting Process in Action
Make It Easy for Yourself
Instead of running around buying items one by one, you can simply choose:
Complete Room Painting Kit
- All tools included
- Correct materials already selected
- Saves time and stress
- Beginner-friendly
Materials Pack Only
- For professionals or experienced painters
- Cost-effective option
- Quick restock for ongoing work
Both options help you finish faster and avoid mistakes.
Service Option (If You Don’t Want Stress)
If you don’t want DIY at all:
- Professional painters can handle everything
- Clean, fast, and neat finish
- No stress about mistakes or buying wrong items
- Ideal for full home makeovers
Sometimes, paying for peace of mind is the smarter choice.
What Most People Don’t Realize (Bigger Picture)
Painting a room often reveals other issues like:
- Cracks that keep coming back
- Damp walls affecting paint
- Old plaster that needs repair
- Colour fading due to moisture problems
So if your walls keep looking bad after painting, it may not be the paint—it may be the wall condition itself.
Quick Maintenance Habits
To keep your walls looking fresh longer:
- Wipe walls gently every few weeks
- Fix small cracks early
- Avoid moisture buildup in rooms
- Touch up small damaged areas quickly
Small care prevents full repainting too soon.
Call to Action (What You Can Do Now)
You can:
- Order a Complete Painting Kit (everything included)
- Buy Materials Only (if you already have tools)
- Request a Professional Painting Service
Simple, fast, and ready for any budget or skill level.
Final Word
A fresh coat of paint can completely change how your home feels—but only when it’s done right.
With the right tools, materials, or help, you can turn a dull room into something clean, bright, and new without stress.